My Latest Fence Clean, Seal, & Stain - 2020
After three years of my brand new fence weathering the elements, it was about time for me to give it a bit of TLC—tender love and care.


As a new home owner at 26 years old, I had no clue that my fence would one day look like this... ever! It was one of those many details of new home ownership that I was completely oblivious to. Needless to say, I had never done any kind of treatment to my newly installed fence when I first moved in. Look how clean and beautiful the fence was back then:


Fast forward three years, I wasn't even planning to do any work on the fence, but in the process of designing and planning our next iteration of our backyard after 3 years, I realized we needed to take care of the fence before doing anything else. It would be more difficult to work on the fence once we have full grown trees and beautiful flower beds in the way (and a lot messier).


My first step was to prototype my concept to my wife to get executive approval for the project, especially since it would be a huge undertaking with around 300 feet total, inside and out.

Initially, I thought I would paint the entire fence white—wouldn't that be pure beauty? But instinctively, I knew it was one of those good ideas that would turn out to be a bad idea (and my wife thought the same thing). It would probably get super dirty and end up being more work to maintain. So my next step, still trying to achieve something unique, was to go for a two-toned approach with a mix of brown.


The prototype turned out better than I could have expected given the quick turnaround time. (I didn't even bother cleaning this panel other than hosing it down a few days before since it was relatively clean compared to the rest of the fence due to its protected location away from the sun and wind.)
I didn't have the patience to try to plan the colors precisely and mix or order anything special so I simply visited the local Home Depot and picked up whatever was in stock.
Fortunately, they had solid white.

However, when it came to choosing a brown color, my wife and I were stumped. We loved the natural golden cedar look of the original raw fence, however I wasn't certain if there was anything, other than a cleaned fence and transparent stain that could replicate it.
I didn't want a transparent stain since it wouldn't last as long as a semi-transparent or solid stain and I couldn't imagine re-cleaning and re-staining the entire fence every few years.
My wife didn't want a solid stain because she likes the look of the natural wood grains.
So we met in the middle and opted for a semi-transparent brown... The only one available was a Chocolate brown or Cordovan brown. Of course we opted for the chocolate!

My wife and I were very happy with the result and so I proceeded with project in its entirety.
The first step was to give the entire fence a nice clean, scrubbing off all the dirt, mold, and mildew. I tested out the cleaning product on one fence panel first:


It was an extremely grueling job to clean the fence because I was manually scrubbing the fence with a deck brush, initially, because I was scared of damaging the wood with the pressure washer. It ended up taking a whole day just to clean three panels.

Afterwards, my wife helped me cover the trims that would later be painted white.


We used a combination of painter's tape that we picked up from Home Depot and scrap newspaper. (Spoiler alert: It turned out to be another one of those "good ideas." At the end of the project, we realized it wasn't really necessary to cover the trim bars and if we could redo it, we'd simply paint the entire fence brown first and then save the second coat of the trim for the white paint. That would've saved a lot of time, energy, and resources. But it did look cool!)
Next, I painted the main panels with our nice chocolate brown stain.


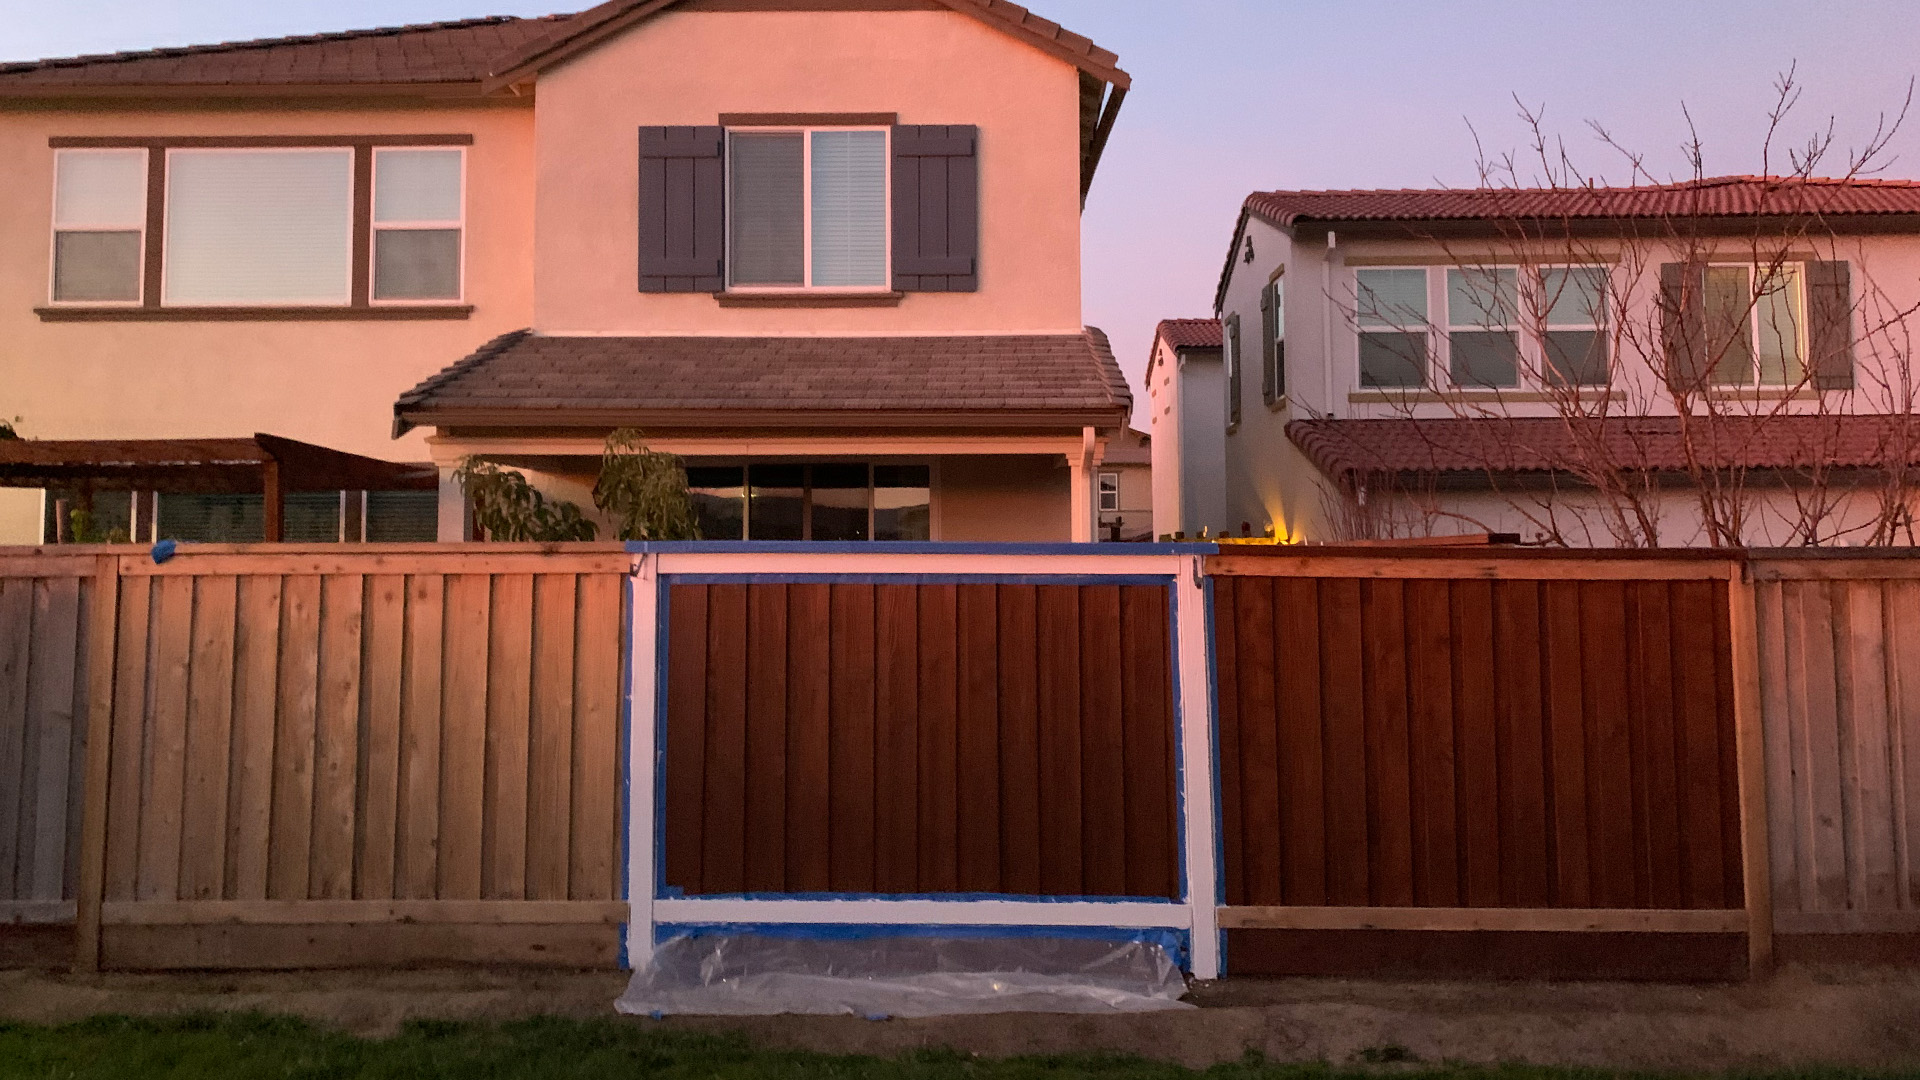
This white-chocolate brown combination is so gorgeous, especially during the golden hours in the morning and evening.

I started very late so inevitably I found myself working in the dark by the only tiny light source my wife could find for me—a tiny desk lamp.

It was also expected to rain so I had a "good idea" (not good even when it's only moderately windy).

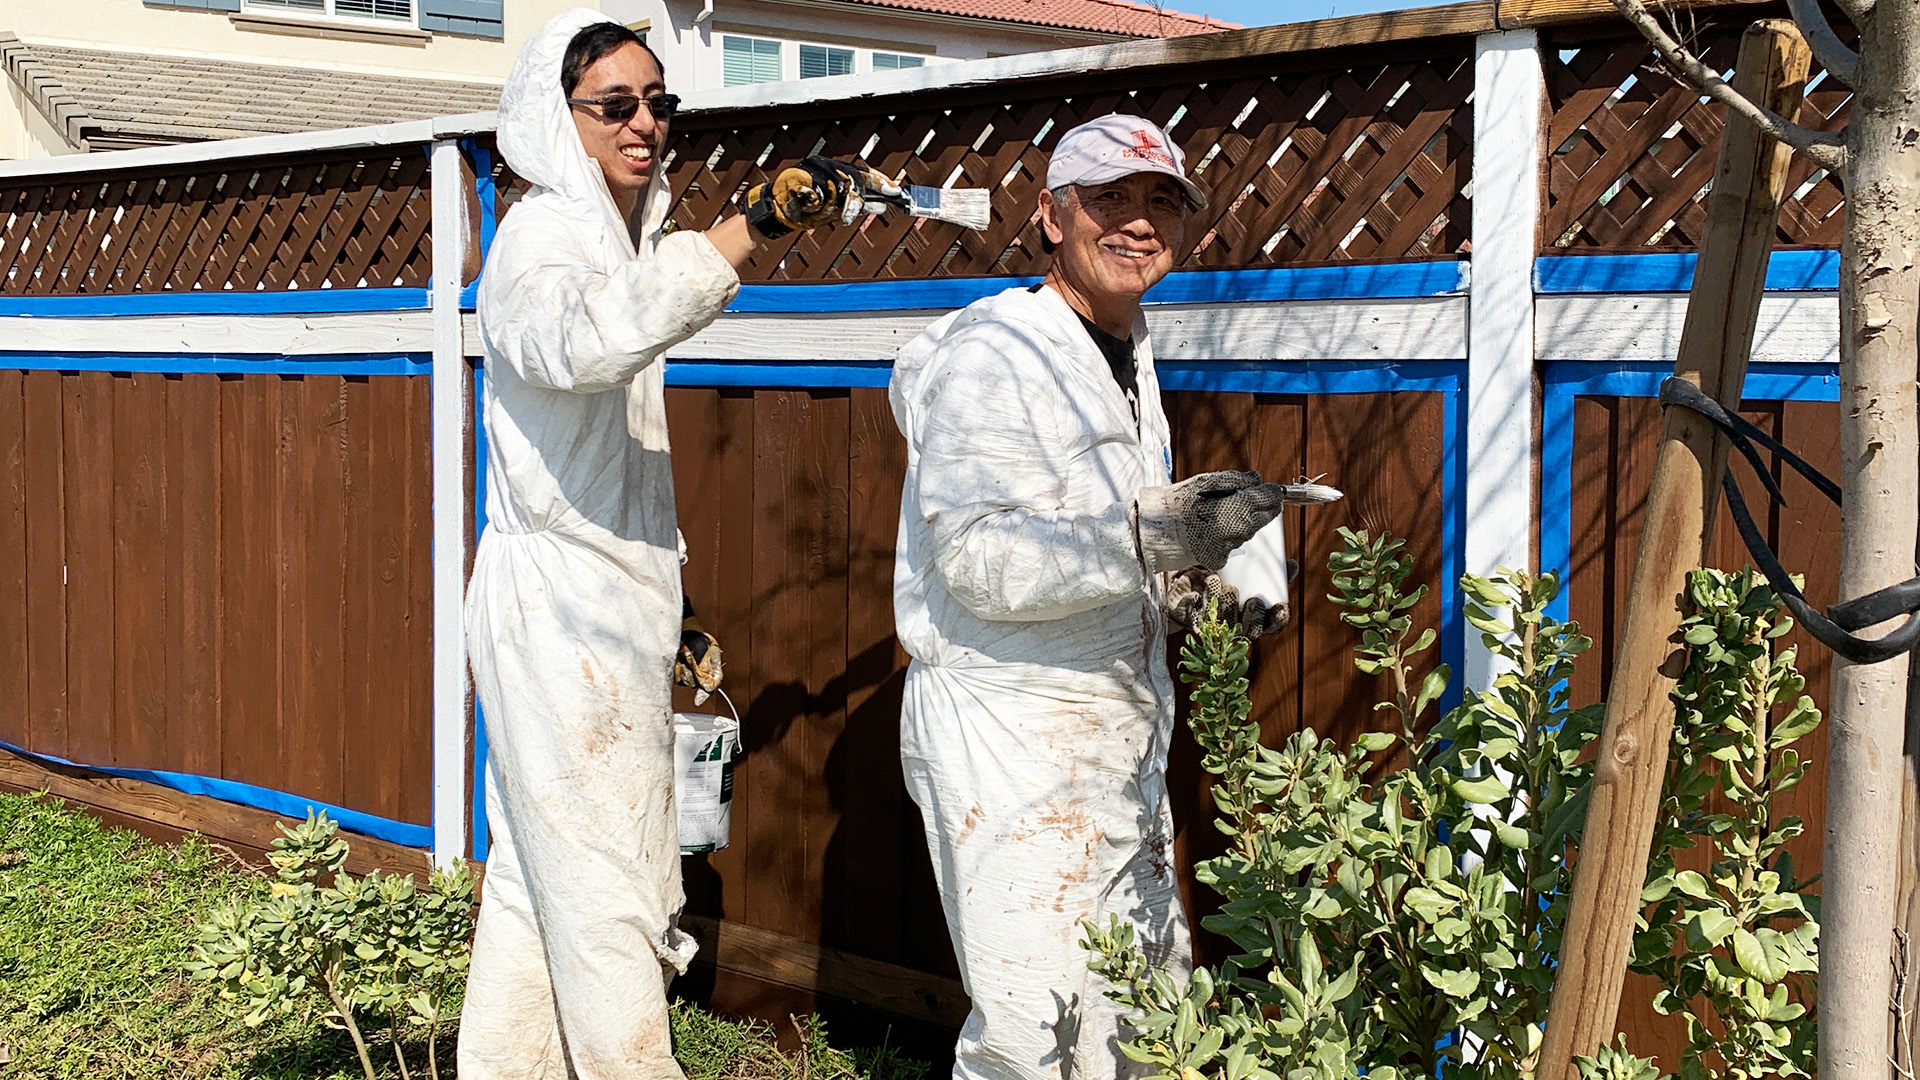
After I cleaned the first three panels manually with a brush and painted with a roller and brushes, and suffering with aches and pains for days, I recruited my father to help me execute the remaining 99% of the project now that the concept was tested and proven (and I was beat up).

It's incredible how dirty the fence actually was, which was extremely evident while pressure washing. There was both a "dirt film" and round black dots, likely mildew and mold. After a short time, we quickly realized there's a technique to properly scrubbing off all this scum, even with a high-pressure washer.

I never took the time to properly A/B test the pressure washing with and without the BEHR All-in-one Wood Cleaner, but I can imagine the "soapy" nature of the cleaner helped to cling to the dirt/mold/mildew for an easier clean.

I timed each panel of fence cleaning with the pressure washer to around 20-25 minutes each (which ended up being around the same time for the painting afterwards). So with dozens of panels, this amounted to a whole weekend's worth of work.


Here's the street-side fence cleaned back to its original golden beauty—amazing!


Back on the inside fence, we mixed up the paint product in 5 gallon buckets from Home Depot.

Thankfully, my father was kind enough to purchase an automatic spray for the bulk of the labor. It made the work WAY faster! As they say: Work hard, but work even smarter.


It was the rainy season which gave me a bit of nerves even though the product said it "resists rain" after 4 hours. (Update: Several months later and everything still seems to be fine—the water beads and rolls right off the fence!)


In hindsight, it would have been better to quickly spray the entire fence brown for the first coat. And then since I was using a solid white paint for the trim, I could have easily gone over the brown on the second coat using the white. By doing it that way, I wouldn't have had to waste time and resources on painstakingly taping all the trim, which is not an easy job.
After painting in all the brown and partially completing the white trim, we were stuck on a design decision. We saw the golden brown of the cleaned trim matched with the chocolate brown and fell in love. But at the same time we loved the original concept of brown and white.

We ended up sticking with the white, but if we decided on the golden-chocolate look, we would have simply used a transparent stain on the trim to preserve the golden tone.

We also had to decide how to paint the street-side fence, which has a grid, different from the inner fence panels that we had been working on first. (We ended up spraying the grid brown.

Pro Tip: Cover the back of the grid when you spray so paint doesn't fly all over the place... on your house, windows, and other fence panels.
Once we got the hang of things. it went FAST! In just one day, we sprayed the entire outside fence brown.

Finally, after all that work, we can now start planting some flowers just in time for Spring!

After everything was said and done, we feasted at our favorite Thai restaurant, Tin Thai Kitchen, in Livermore (I highly recommend them).

I'm so thankful for my father—he always amazes me with his ingenuity, hard work, and energy!